Before you continue please consider clicking on one of the horrible ads. I know they are a pain but they help me pay for the hosting of this site. It owes me a lot of money. Sob story over.
Before we start the first thing you need to do is forget this silly idea and install PI Hole in docker. It takes about 5 minutes doesn't really need any configuration and is dead easy to maintain.
If you still don't want to go down the docker route then have a word with yourself and go use docker. Seriously you're gonna save yourself a lot of time and effort.
If you still, still want to use a VM... Lets begin.
The first thing to do is build yourself a Centos 8 VM using this handily guide i prepared earlier :
Once you have gone through that guide. Leave the guy that wrote it a comment. He's good people.
Now log onto the server using the user you created. We are going to use the official PI Hole install script as its just easy and fast but first we need to deal with SELinux.
We do this buy editing a config file:
sudo vi /etc/selinux/configSudo is to elevate the command (this will ask for your password). VI is a text editor. The rest is the path to the file.
The contents of this file are as follows:
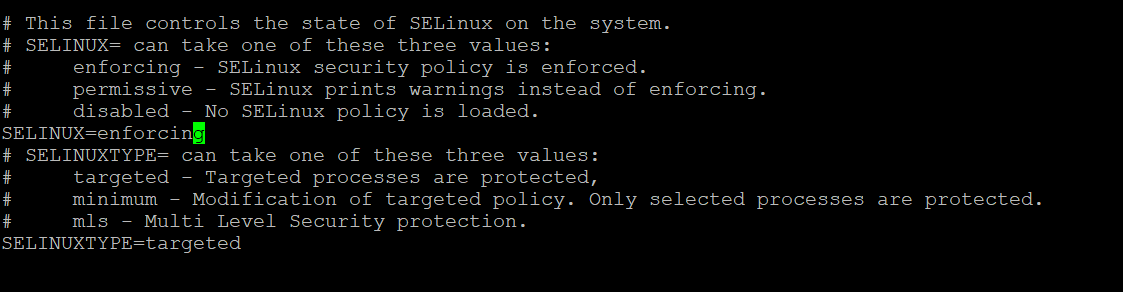
We need to edit the line :
- 'SELINUX=enforcing'
and change it to
- 'SELINUX=permissive'
If you haven't used VI before, I'm sorry. It's weird and you're gonna have to live with that.
To edit the file you need to enter"insert" mode. You do this by pressing 'i' or if you have a full keyboard the 'insert' key. You know you're in insert mode because it says insert in the bottom left corner (See bellow).
Now delete enforcing and write permissive, and carry on reading. Saving the file is weird.
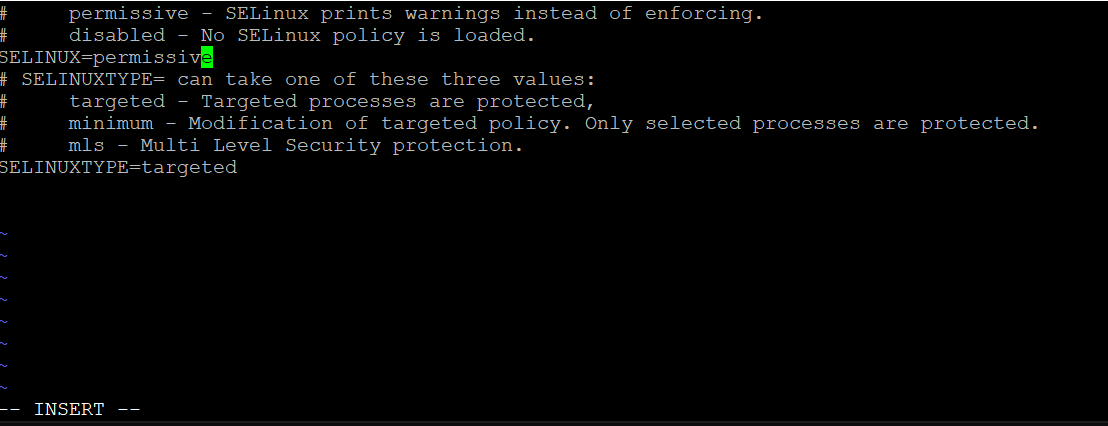
Now we need to come out of insert mode. We do this by pressing CTRL-C. Insert should disappear.
Then we type ':wq!'
That's a colon followed by lower case w then lowercase followed by an exclamation mark.
- : - this puts VI in command mode
- w - This means write
- q - quite the vi
- ! - Answer yes to any confirmation questions
VI will now close. We need to reboot the VM before we can proceed further. Do this from the command line with:
sudo init 6Log back in to the VM and run the following
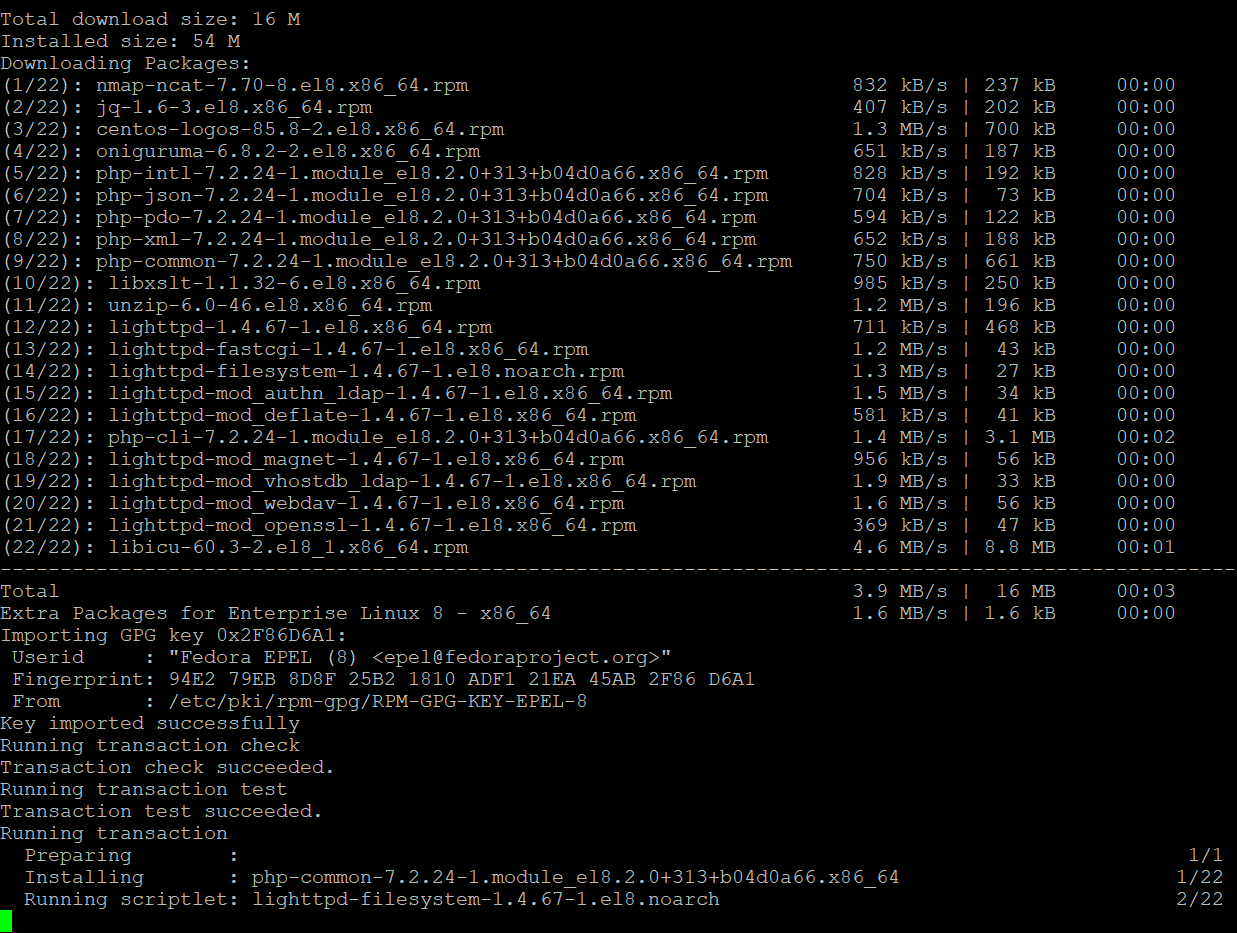
sudo curl -sSL https://install.pi-hole.net | bashThe script will now do its thing
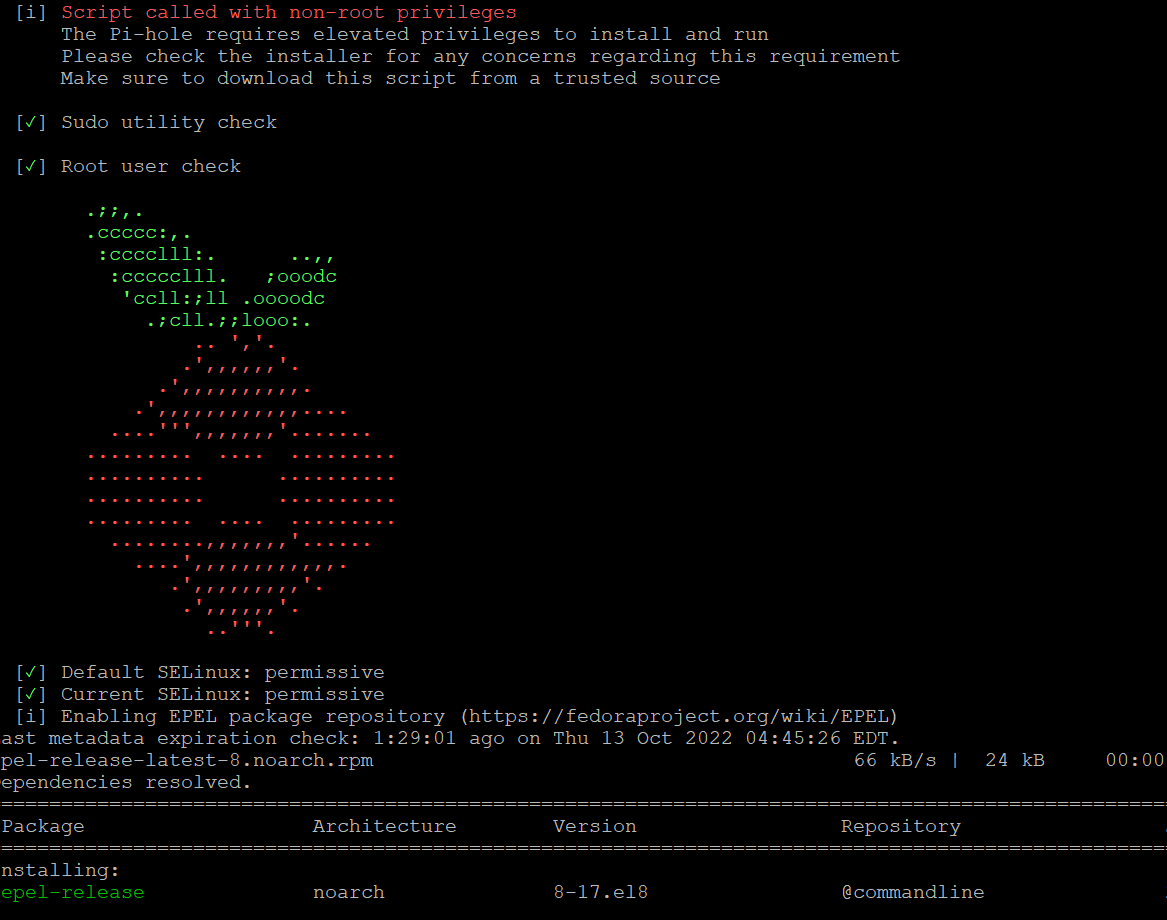
This will run for a while until you get some screens that just need you to hit OK. Then you will come to the following
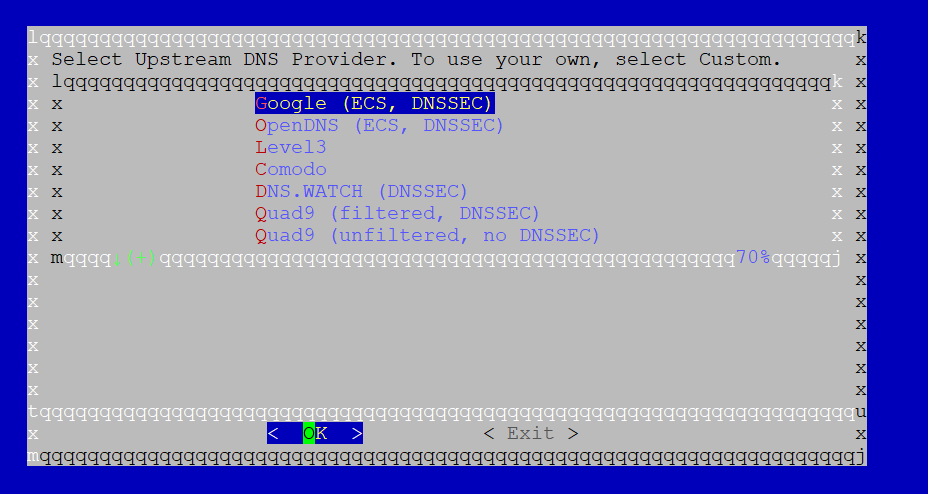
I tend to just use google for this but feel free to choose any. You can change this later if you wish.
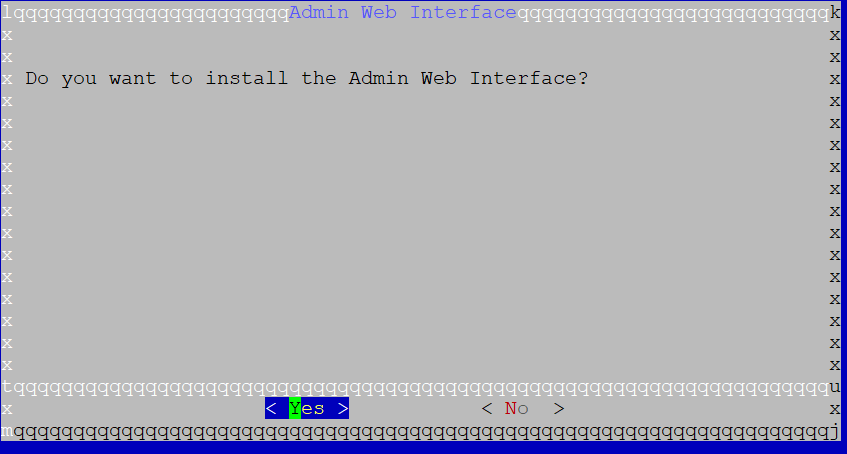
Next we get this. Click Yes
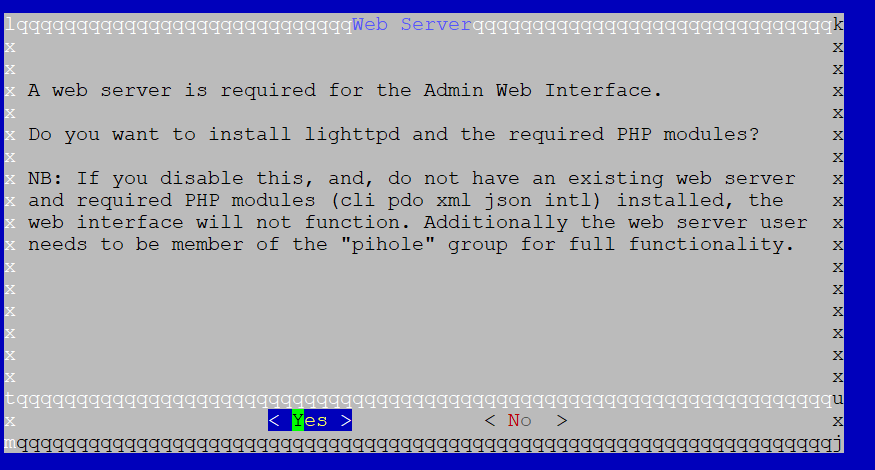
then yes again
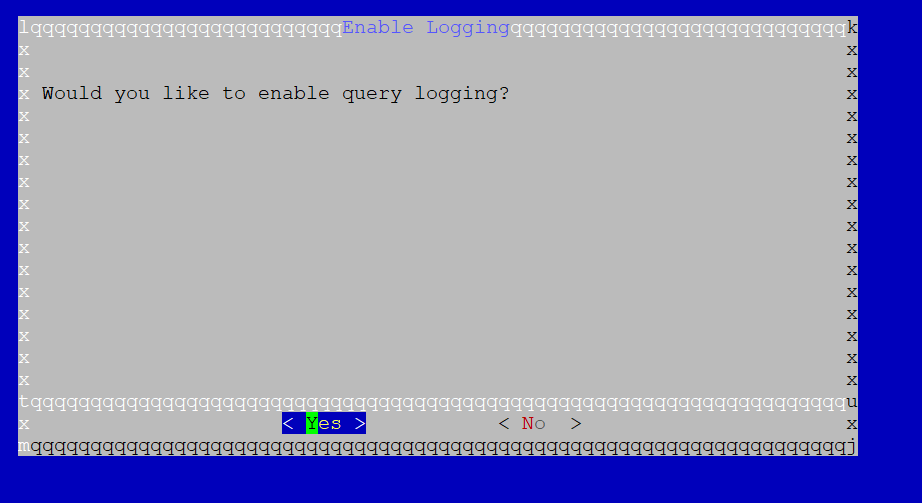
again yes
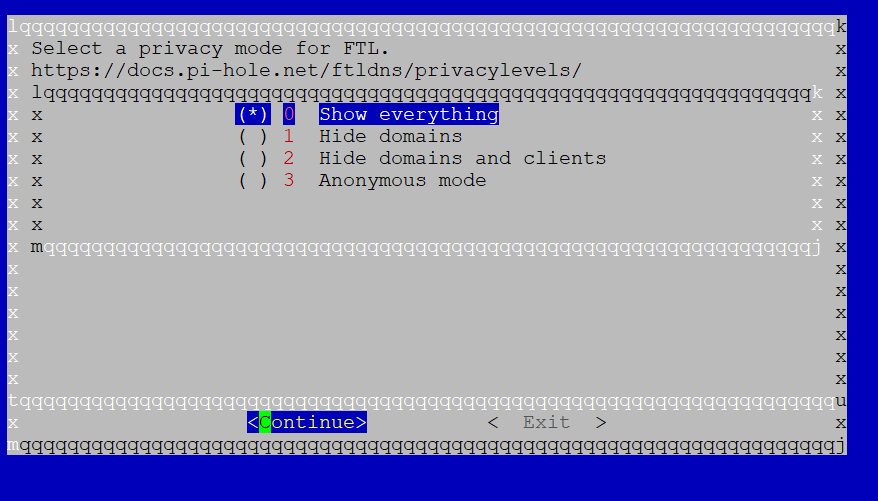
this next one is interesting. When Pi hole is installed you can see all the DNS requests made by everyone using it. So you could use it to snoop on what people are looking at. To do that you need to select 'show everything'.
If you have a teenage boy in the house and you want to be able to look him in the eye without laughing ever again you might want to choose 'Anonymous mode'
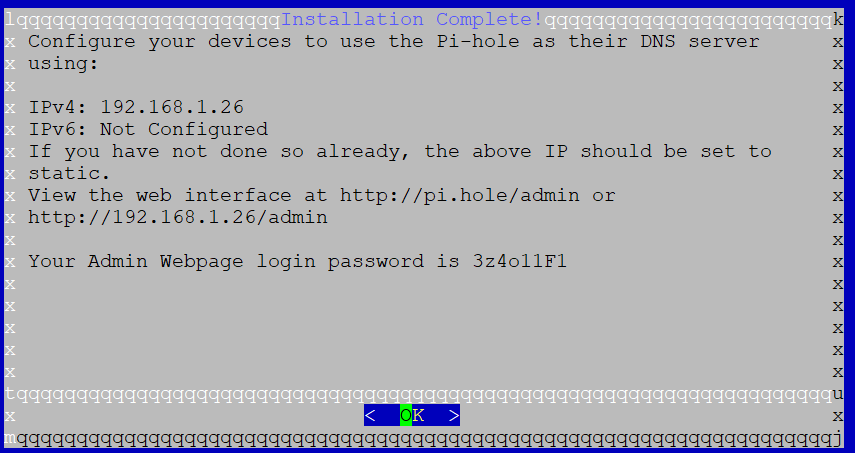
The installation will now continue
Finally the installation will complete and you will presented with your Pi Hole admin URL and the admin password
Now we aren't quite done here. Centos8 has a firewall that will block port 80 by default. We could poke a hole in that firewall but its much easier to just disable it.
run the following:
sudo systemctl stop firewalldAnd we are done. You can now point your DNS to this VM and it will be filtered. One thin worth noting. The default blocklist for PIhole is pretty useless. I would recommend adding one of the following:
Basic: https://dbl.oisd.nl/basic/
Full: https://dbl.oisd.nl/